How to Adjust Temperature Controller
Discover how to set a temperature controller with our comprehensive guide. From installation, configuration and common applications - ensure optimal performance with precise temperature regulation!
1. Introduction
Temperature controllers are integral tools used to maintain and regulate temperatures across various applications - from industrial processes to home brewing. Understanding how to set and configure one is imperative to achieving desired results and optimizing performance; this guide aims to offer a thorough guideline of what steps must be followed when setting up and configuring one of these essential devices.
2. Familiarizing Your Temperature Controller
Before diving in and beginning the setup process, it is vitally important that you become acquainted with all of the components and user interface of your temperature controller.
Components: A typical temperature controller contains three components, such as a sensor (such as a thermocouple or RTD), the controller unit and actuators like heaters or coolers to measure, monitor and adjust temperatures appropriately. A sensor measures temperatures while processing them through to actuators adjust it as necessary.
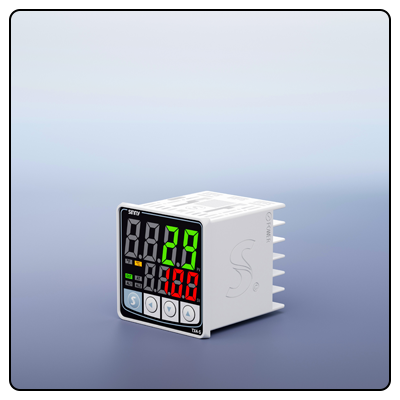
User Interface: A typical user interface consists of a digital display and control buttons to view current temperature settings; additionally, buttons enable navigation through menus and parameters adjustment.
3. Installation and Initial Setup
Installing the Controller: Connect sensors to their respective input terminals on the controller before connecting actuators such as heaters or coolers directly to output terminals and finally powering on.
Powering On: Once all connections have been secured, power up the controller. The LCD should display the temperature reading from your sensor.
4. Modifying Temperature Settings
Now that the controller has been turned on, you can customize its temperature settings according to your application needs.
Accessing the Settings Menu: To enter the settings menu, press and hold the SET button until your display begins flashing or shows a menu.
Setting Your Preferred Temperature: Use the up and down arrows to select your ideal temperature range before pressing "SET" to confirm it.
Adjusting Control Parameters: Depending on the controller type you are using, you may require making changes to certain parameters like hysteresis (the range near a set point where no action are taken), differential (the difference between actual temperature and setpoint that triggers it), PID settings (Proportional, Integral, Derivative). These modifications allow more precise control.
Setting Alarms and Delays: Create high and low temperature alarms to notify you if temperatures go outside a preset range, while simultaneously setting a compressor delay timer so as to prolong its lifespan and save power costs by short cycling your cooling device less often.
5. Utilizing the Temperature Controller
Once all settings have been configured, you can begin using your temperature controller to achieve desired temperatures.
Monitoring Temperature: Your display will display the current temperature reading. For accurate readings, ensure your sensor is placed appropriately within its environment of operation.
Adjustments: If real-time adjustments are required, simply press "SET" and use the arrows to modify settings.
Calibration: Periodically, calibration of your temperature sensor may become necessary in order to get precise readings from it. Please refer to your user manual for specific calibration instructions for your model.
6. Temperature controllers
can be useful tools in many different areas. Here are a few popular uses and ways you can keep your controller working optimally:
* Brewing: Maintain precise fermentation temperatures to achieve consistent beer quality.
* HVAC Systems: HVAC systems regulate heating and cooling in both residential and commercial properties.
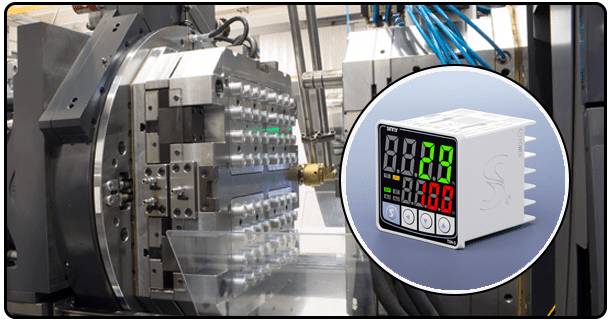
* Industrial Processes: Temperature control in manufacturing processes to guarantee product quality is crucial in order to produce reliable goods.
Maintenance Tips: for Temperature Probe: To maintain accurate readings and maintain its cleanliness. * Clean it Regularly: Maintain regular and thorough cleaning of the temperature probe in order to guarantee accurate readings.
* Regular Calibration: Calibrate the probe on an ongoing basis in order to maintain accuracy and ensure high precision readings.
* Check Connections: For your own safety, ensure all connections are properly fastened in order to prevent malfunctions from occurring.
7. Conclusion
Establishing a temperature controller requires understanding its components, installing it correctly, and configuring settings according to your application needs. By following the steps outlined herein, you can ensure your controller operates efficiently and precisely for maximum temperature control in any application you may use it for.
- How to Tune a PID Temperature Controller Step-by-Step Guide
- How to use Inkbird Temperature Controller


