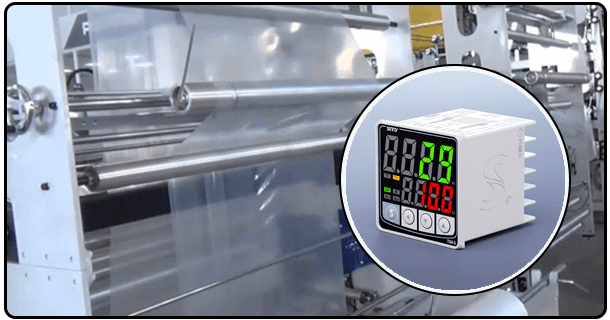
how to program Digital a temperature controller
Learn how to program a temperature controller with our detailed guide. Discover setup instructions, programming tips, and SEO strategies to enhance your website's visibility. Ensure precise temperature control with expert advice and troubleshooting tips.
1. Introduction
A temperature controller is an electronic device used to maintain ideal temperatures within an adjustable range, making them essential for industrial processes, HVAC systems and laboratory environments alike. By automatically adjusting heating or cooling devices on its own to maintain stable temperatures at all times - essential in guaranteeing product quality, safety, efficiency and product lifecycle management.
Types of Temperature Controllers: There are various kinds of temperature controllers designed to suit various uses and applications. Some popular options are on/off controllers, proportional controllers and PID (Proportional-Integral-Derivative). On/off controllers provide simple temperature maintenance by either switching output on and off in response to changes in setpoint temperature fluctuation while proportional controllers use variable output levels in response to this fluctuation and PID controllers offer precise temperature regulation using their combination of proportional integral and derivative actions for precision temperature regulation.
2. Components and Setup
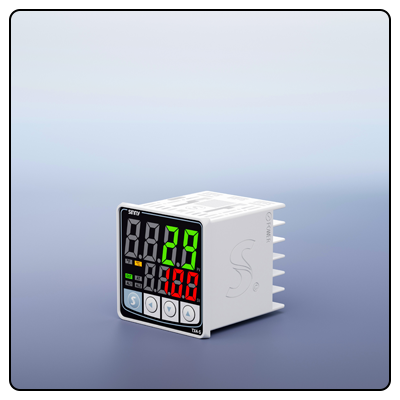
Controller Unit: The controller unit serves as the brain of any temperature control system, receiving input from temperature sensors to adjust output to maintain desired temperatures. Typical interface of controller units includes display screens with buttons or touchpads for programming and adjustment purposes.
Actuators: Actuators are devices used to carry out controller's orders. Examples include relays, solid-state relays (SSRs) and contactors - with relays typically used for switching low power devices while SSRs tend to perform faster switching with longer lifespan, as well as contactors used for controlling large electrical loads.
3. Wiring and Connections
Power Supply: When wiring a temperature controller, the first step should always involve connecting to power source. Before doing so, please double check to make sure the voltage meets controller specifications as improper voltage may damage or malfunction it.
Sensor Connections: Follow the manufacturer's instructions when connecting a temperature sensor to its controller, typically by connecting its wires directly into its designated terminals on the controller. Be certain that all connections are secure to ensure accurate readings from both units.
Output Connections: Connect the output terminals of a controller to actuators so it can regulate heating or cooling devices based on temperature readings. Follow any wiring diagram provided by the manufacturer to ensure correct connections.
4. Programming the Controller
Accessing the Menu: To program a temperature controller, start by accessing its programming menu - usually done through pressing multiple buttons or scrolling on an interactive touch screen interface. Please refer to your user manual for specific details on accessing it.
Setting Temperature Ranges: To set desired temperature ranges on your controller, enter both your setpoint temperature and allowable deviation from it - for instance if your setpoint temperature is 100degC with +-2degC as allowable variance, your controller will maintain temperatures between 98degC and 102degC.
Control Method: Select an effective control method for your application. On/off control may suffice where precise regulation is not essential, while proportional and PID control offer more precise temperature regulation by continually adjusting output based on proportional, integral, and derivative terms respectively.
Tuning Parameters: Tuning PID controller parameters is vital to their optimal performance. The proportional band sets the range of temperatures over which PID operates proportionally while integral time adjusts the output based on cumulative errors over time and derivative time adapts output according to temperature fluctuations over time - proper tuning ensures reliable temperature regulation.
After programming the controller, perform an initial test to make sure that it operates as intended by monitoring temperature readings and its response to temperature variations. Make any necessary adjustments in settings until desired performance has been reached.
Calibration: Calibration is the practice of adjusting a temperature controller so as to provide more precise readings from it, by comparing its readings against an established reference temperature and making any necessary changes or corrections as required. Regular calibration helps preserve accuracy and ensure reliability within any temperature control system.
5. Troubleshooting
Common Issues: Temperature controller issues that frequently arise include inaccurate readings, unpredictable behavior and failure to maintain setpoint temperature settings. Such issues are typically resolved by checking sensor connections, proper wiring connections and programming settings - often just taking some simple measures can resolve these problems for good!
6. Maintenance Tips
For maximum longevity and efficiency from any temperature control system, regular maintenance must take place to extend its longevity and reliability. This involves regularly cleaning sensors and controllers as well as checking loose connections as well as performing calibration. Following manufacturer maintenance guidelines can prevent issues and ensure optimal performance of temperature controls systems.
- How to Tune a PID Temperature Controller: A Comprehensive Guide
- How to Configure a Carel Temperature Controller


