How to Use a Digital Temperature Controller: A Comprehensive Guide
Learn all you need to know to effectively operate a digital temperature controller through our step-by-step guide. From installation and troubleshooting, our advice covers everything you require for optimal performance of the unit.
1. Introduction
Digital temperature controllers are essential tools used by many industries and applications for maintaining precise temperatures for various processes and applications, including HVAC systems, industrial processes and home brewing. Learning the art of controlling these temperatures efficiently will increase efficiency while optimizing their performance - saving both money and effort in use!
2. Components of a Digital Temperature Controller
A typical digital temperature controller typically contains several key elements:
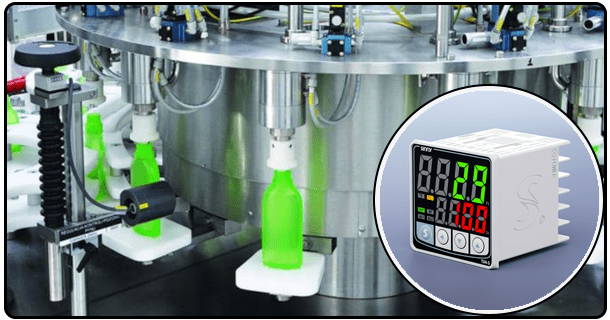
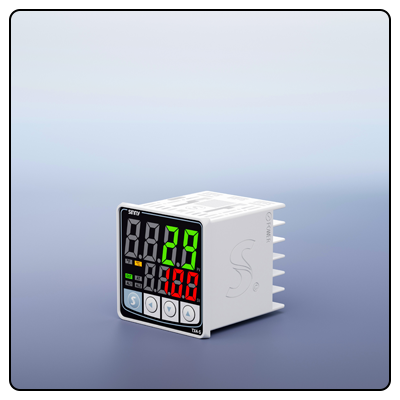
* Display Screen: Provides information regarding current temperature and setpoint values.
* Control Buttons: Used to navigate and customize settings within an application or website.
* Sensor Input: Connect a temperature sensor such as thermocouple or RTD for accurate temperature readings.
3. Installation
Proper setup is key to the smooth functioning of a digital temperature controller, so follow these steps for optimal installation:
1. Protective Precautions: Before commencing the installation process, turn off all power.
2. Mounting Your Controller: Secure it to an ideal spot away from heat sources or moisture.
3.Activating Your Alarm Systems
Connect the Sensor: Secure the temperature sensor to its input port on the motherboard.
4.Wiring the Power Supply: Wire up the power supply according to manufacturer's instructions. 5.Connecting a Load: Attach the device (heater or cooler) directly to its output connections.
4. Setting Up the Controller
After being installed, a controller needs to be configured:
Power On: Switch your controller on and wait for it to initialize before using its controls buttons to access its menus.
When Navigating The Menu:
To navigate directly through it use its controls buttons for navigation of course when this mode of navigation does not provide access. 3 The Controller Has Completely Initialized Now
Setting Your Desired Temperature: Enter Your Desired Setpoint Temperature, with precision.
Configuring Parameters, You may adjust various parameters such as Hysteresis and Delay Time in order to fine-tune controller performance.
5. Operation Modes
Digital temperature controllers often offer multiple operation modes.
* Heating Mode: Enables heating device when temperature falls below the setpoint.
* Cooling Mode: Engages when temperatures surpass their predetermined setpoint and the cooling device activates automatically.
* Auto-Tuning and Manual Tuning: Some controllers offer auto-tuning features to optimize performance, while others enable manual tuning of systems.
6. Troubleshooting
Many common issues associated with digital temperature controllers can often be solved using straightforward troubleshooting steps:
* No Power: Verify power sources and connections before taking further actions.
* Inaccurate Temperature Readings: To correct incorrect readings of temperature, confirm the sensor is properly attached and calibrated.
Error Codes and Their Solutions: For detailed explanations and solutions regarding error codes, referring to your user manual can help.
7. Regular Maintenance
Preserve the lifespan and accuracy of your digital temperature controller through regular servicing:
* Regular Checks:
Inspect all connections and sensors regularly for signs of wear or damage.
8. Conclusion
Digital temperature controllers are invaluable tools for maintaining precise temperature regulation across a variety of applications. By following the steps outlined here, you can ensure your controller works efficiently and effectively - regularly performing maintenance checks will also maximize its usefulness!
- How to Connect a Temperature Controller: A Comprehensive Guide
- How to Install an Inkbird Temperature Controller: Step-by-Step Guide


