


Temperature Controller Using Microcontroller PID: A Comprehensive Guide
Learn how to create and implement a microcontroller temperature controller. Discover components, programming, applications and optimization to achieve precise temperature regulation.
1. The following is a brief introduction to the topic:
This article provides a guide to designing and implementing temperature control using PID with microcontrollers.
2. Understanding PID Controllers
The PID controller is the core of most modern control systems. It continuously adjusts the output control based on the differences between the setpoint value and the measurement. Proportional focuses on the current error. Integral aims to correct past errors. Derivative minimizes deviations in the future.
PID controllers ensure accurate and stable temperature control, even in dynamic situations. Users can optimize system performance by fine-tuning P, I and D gains.
3. Microcontroller Integration
The microcontroller enables real-time calculation of PID equations. This allows for quick temperature adjustments. It has been possible to expand the use of PID controls for applications such as smart thermostats and industrial ovens.
4. Components required
The following parts are usually required to build a thermostat:
Microcontroller board: Arduino uno, STM32 or other compatible boards.
Temperature sensor: Available options include LM35 or thermocouples.
Actuators Relays, heating fans, and cooling fans.
Power Supply : Power source suitable for circuit.
Tools: Arduino IDE or MATLAB for coding and simulation.
The components are the basis for a PID-based system that is robust.
5. System Design
A block diagram is used to illustrate the signal flow and process.
sensor measures the temperature.
Microcontroller : Calculates the PID output control.
Actuator : Reconfigures heating or cooling according to the control signal.
A closed loop setup involves a sensor that continuously sends data about temperature to a microcontroller. The controller then processes the information to keep the setpoint at the desired level.
6. Steps to Implementation
Implementation involves:
Hardware Setup Assemble your microcontroller and sensors.
Code the PID algorithm Write the code and upload it to the microcontroller.
Tuning Parameters Use Ziegler-Nichols techniques to find the optimal gains for P, I and D.
Test Run the system in varying conditions for a stable performance.
Refining : Modify parameters to minimize errors and eliminate overshooting.
Code example for Arduino PID implementation
Cpp
#include double Setpoint, Input, Output; PID myPID(&Input, &Output, &Setpoint, 2, 5, 1, DIRECT); void setup() Serial.begin(9600); myPID.SetMode(AUTOMATIC); void loop() Input = analogRead(A0); myPID.Compute(); analogWrite(9, Output);
This code shows how to integrate a PID with temperature sensors, actuators and other devices.
7. Apps
Temperature controllers based on PID are used widely in:
3D printers: Extruder temperature and the build plate can be precisely controlled.
HVAC System Intelligent Climate Control in Residential and Commercial Settings
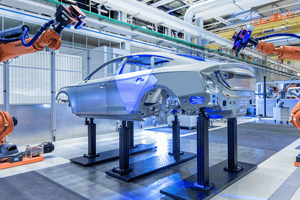
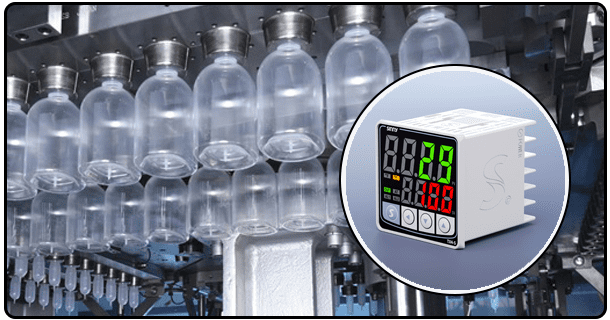
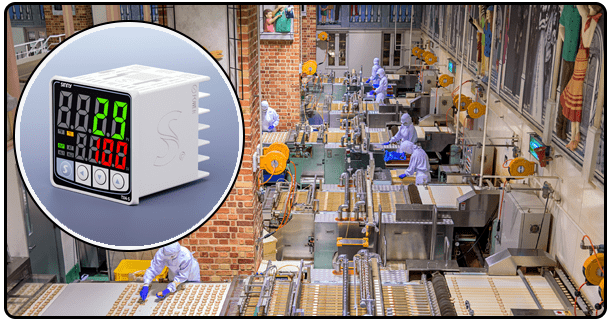
Industrial processes: maintaining temperature in furnaces, ovens and reactors.
Medical equipment: temperature stabilization of devices such as incubators and dialysis machine.
These applications demonstrate the impact and versatility of PID microcontroller systems in various fields.
8. Problems and solutions
Common challenges to PID implementation are:
Overshooting : Adjusting proportional gains can alleviate this problem.
Oscillations : A fine-tuned derivative gain can help stabilize the system.
Noise from Sensor Use smoothing algorithms or filters to solve this issue.
Temperature control is reliable and effective when you use proactive optimization.
- PID temperature controllers: A guide to precision and efficiency
- A Comprehensive Guide for PID Temperature Controls with PT100 sensors