How to Wire a PID Controller: Step-by-Step Guide for Precise Temperature Control
Learn how to wire a PID controller with our comprehensive guide. Follow step-by-step instructions to ensure precise temperature control for your applications. Perfect for industrial and home automation systems
1.Introduction
A PID (Proportional-Integral-Derivative) controller is an invaluable part of both industrial and home automation systems, helping maintain desired output by continuously adjusting control inputs based on feedback. In this guide we'll walk through how to wire one for precise temperature regulation for various applications.
2. Before You Begin In order to begin wiring a PID controller
collect these essential components.
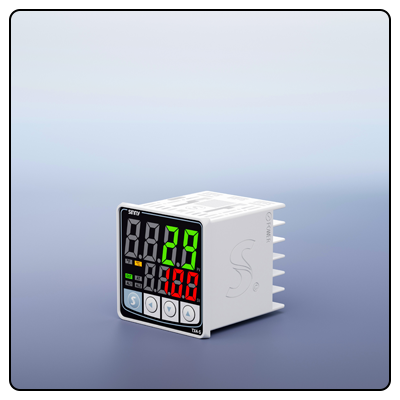
* PID Controller : this component acts as the central element in controlling the system.
* Temperature sensor: This may include thermocouples or resistance temperature detectors (RTD).
*Power supply: Provide the appropriate voltage and current levels.
* Relay: Use either a solid-state relay (SSR) or mechanical relay to switch on/off heating/cooling devices.
*Heating/cooling device:This refers to any piece of equipment which will be controlled by a PID controller.
* Wiring tools and materials: this includes wires, connectors, insulation materials and any necessary other tools or supplies needed for wiring systems.
3.Safety Precautions
Security must always come first when working with electrical components. Be mindful to follow these safety measures: * Turn Off Power Before Beginning (at Least 1 Hour before You Begin Working with any Component) (for Maximum Protection from Electric Shock or Electrocution, disconnect power source before commencing any project involving electricity); (b) Unplug power source from outlet before working (restart power after turning power back ON again before working, etc).
* Use appropriate insulation materials: Use insulation materials of sufficient thickness in order to avoid short circuits.
*Grounding: To avoid electrical shocks and protect all components properly from electrical surges.
4.Wiring the PID Controller
Step 1: Locating Wiring Points
Identify all input, output, and power terminals on the PID controller by consulting its manual for identifications of specific terminals.
Step 2: Connecting the Temperature Sensor
Securely connect your temperature sensor to one of the input terminals on the PID controller. Be certain that all connections are tight, enabling it to accurately record desired temperature measurements.
Step 3: Attaching the Power Supply Connect the power supply to the PID controller's terminals by plugging it directly into an outlet, making sure its voltage and current ratings match those required by its specifications.
Step 4: Connecting the Relay
To control heating or cooling devices based on PID controller output signals, attach a relay to one of its output terminals of your PID controller and connect a relay switch as instructed above. Its function will be similar to connecting an analog thermometer.
Step 5: Connect Heating or Cooling Device to Relay
Connect any heating or cooling devices you intend to use with the relay, taking precautionary steps such as insulation for connections in order to avoid potential electrical hazards.
5.Initial Setup and Configuration
Once wiring is complete, power on your PID controller. Follow these steps for initial configuration: * Configure Sensor Type: Set your controller so it recognizes which type of temperature sensor (e.g. thermocouple or RTD).
* Select temperature units: To change temperature units from Celsius or Fahrenheit.
* Set Your Temperature Setpoint: Input the ideal temperature that your system should maintain.
6.Tuning PID Parameters
Optimizing PID parameters is of critical importance in order to obtain maximum performance from any PID controller, using three parameters as follows. * Proportional (P): Defines how quickly errors should respond by responding proportionately (in terms of reaction rate).
* Integral (I): Determines a response based on recent errors accumulated over time.
* Derivative (D): Defines how an error rate changes over time.
Adjust these parameters to create an efficient, stable and responsive control system. Make a few minor modifications before watching how they affect the system to fine-tune settings as necessary.
Testing and Troubleshooting
Once configured, test your PID controller system to make sure it operates as intended: * Check Wiring: To make sure everything is accurate and secure before connecting any cables.
* Evaluate Response Time: Monitor how quickly the controller reacts to temperature variations and ensure that it maintains your setpoint temperature.
* Troubleshoot issues: If the system doesn't perform as anticipated, take time to review its wiring and configuration settings for issues. Common examples may be incorrect sensor connections, improper parameter settings or failed components.
7.Conclusion
Wiring a PID controller takes careful planning and attention to detail. By adhering to this guide, you can ensure a successful installation that provides accurate temperature regulation for your applications. However, ongoing maintenance and calibration are required in order to keep everything operating optimally.
- How to Implement a PID Controller: Step-by-Step Guide for Precise Control
- What is a PID Controller Smoker? Benefits, Types, and How to Use


