How to Wire a PID Temperature Controller: Step by Step Guide
A step-by-step guide to understanding the ins and outs of pid temperature controller wiring, pro tips for precise temperature regulation
1. Introduction
Wiring a PID (Proportional-Integral-Derivative) temperature controller might seem complicated at first, but with our in-depth step-by-step guide it becomes an easily achievable task. Here is your chance to achieve precise temperature regulation across your applications by installing PID temperature controls!
2.Establish the Necessary Components and Tools
Before commencing wiring, gather all essential components and tools. Doing this will streamline the wiring process while helping avoid disruptions or delays during its implementation.
3.Components:
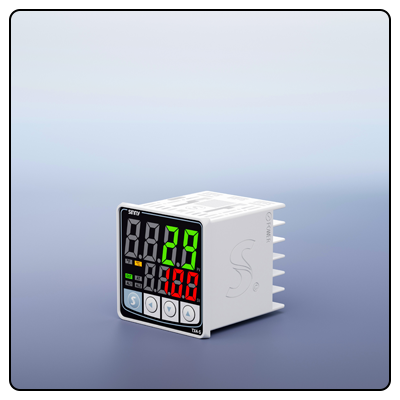
PID Temperature Controller :
The central device that will regulate the temperature.
Power Supply:
Provides energy needed for running both PID controller and its other components.
Connecting Wires:
Used to connect all components together.
Screwdrivers to tighten and loosen screws.
Wire Strippers:
For safely stripping insulation off wires.
Multimeter:
You should utilize it to conduct electrical tests to detect short circuits.
4.Safety Precautions
Work safely when handling electrical components by turning off all sources of power before beginning wiring projects to prevent electric shocks. Also follow any safety recommendations provided by component manufacturers.
5.Wiring the PID Controller
Once your components and tools are all assembled, it's time to begin wiring the PID controller. Follow these steps carefully:
Connect the Sensor
Secure and connect a thermocouple or RTD sensor to its appropriate terminal on a PID controller to ensure proper polarity of connections, since these will supply temperature readings back into its algorithm. Once connected, this sensor will deliver temperature data directly back into its controller's processor for analysis.
Connect the Power Supply
Care should be taken when connecting the power supply to a PID controller to ensure proper voltage and polarity matching as described by its manual; incorrect wiring could damage or disrupt its proper workings and cause malfunctioning of its controllers.
Connect the Relay
Wire the output terminals of your PID controller into the input side of an SSR or mechanical relay; this relay will serve as a switch controlled by your PID controller to turn on/off heating elements as necessary.
Attach the Heating Element
Secure the heating element to the output side of a relay by tightening its connections securely; this way, its control of power to it from PID controller can ensure reliable performance of heating element heating elements.
Grounding
Effective grounding practices are necessary to prevent electrical hazards. All components should be grounded according to manufacturer instructions for maximum protection from electric current leakage.
6. Configuration and Testing
Now that the wiring has been completed, it is necessary to configure and test the system.
Put on Power
Start by turning on your power source, checking for wiring errors using a multimeter and making sure there are no short circuits or other unexpected events.
Adjust Parameters
Configure PID settings according to your application needs by configuring proportional, integral and derivative (PID). These will dictate how well the controller reacts to temperature variations.
Test Your System
As part of testing your system, ensure the PID controller is accurately controlling temperatures. Make any required modifications to PID settings for desired temperature regulation.
Final Installation
Once completed with configuration and testing, secure all components to an easily accessible locati0n before performing final installation. Double-check that everything is running efficiently before continuing with finalization steps.
7.Conclusion
Wiring a PID temperature controller involves several steps, but with careful preparation and attention to detail, it can be done successfully. By following this guide, you can achieve precise temperature control for your applications, ensuring optimal performance and safety.
- How to Program an Inkbird Temperature Controller
- How to Wire a Temperature Controller: Step-by-Step Guide


